
Gingerbread House
Making your own gingerbread house is loads of fun. It makes a nice table decoration and of course you get to eat it later.
Ingredients
- 650g (1lb 7 oz.) plain white flour (plus extra flour for rolling)
- 250g (9oz.) vegan margarine
- 200g (7oz.) dark muscovado sugar
- 8 tablespoons golden syrup
- 1 teaspoon bicarbonate of soda
- 4 tablespoons ground ginger
- Icing sugar
- Vegan boiled sweets, marshmallows, liquorice, angelica, candied peel, flaked almonds etc. for decoration.
Method
- First, you should download the cut-out template for the gingerbread house (PDF). Print it out and cut around the shapes.
- Preheat the oven to Gas Mark 3 / 335°F / 170°C.
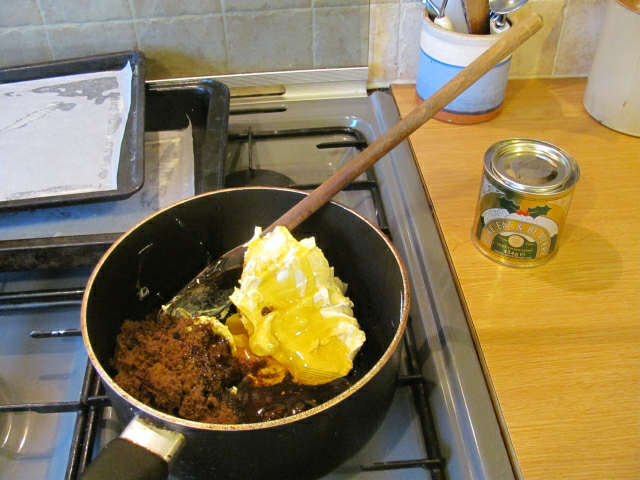
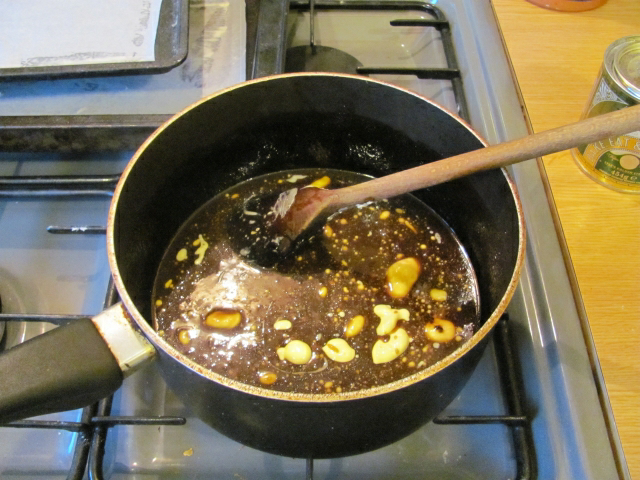
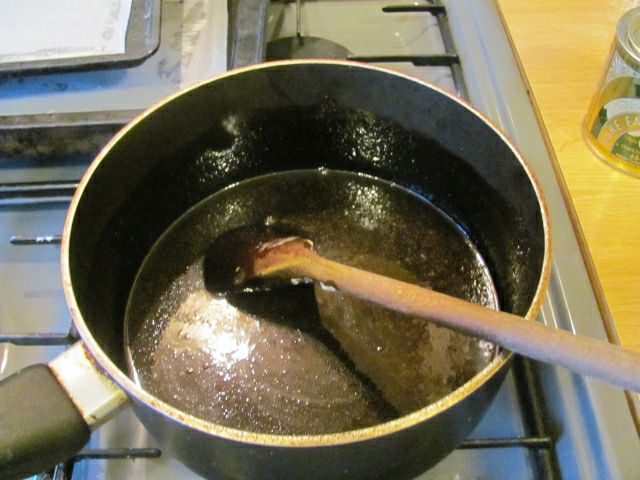
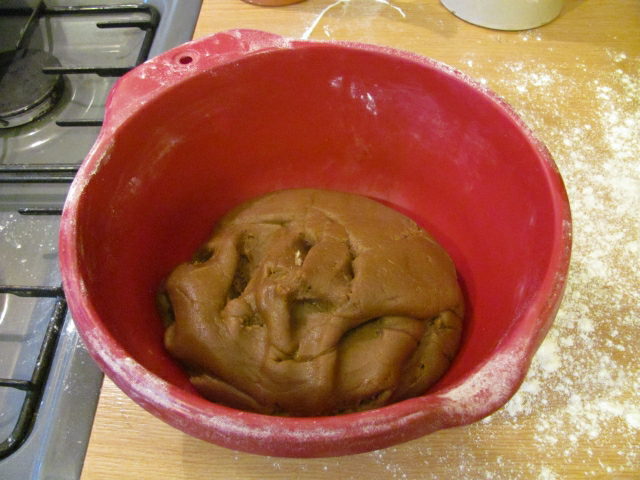
- Place the margarine, muscovado sugar and golden syrup into a saucepan on a low heat, stirring occasionally until all the margarine has melted and the sugar dissolved. You should get a thick, dark, gloopy mixture. Remove from the heat.
- Sieve the flour, ginger and bicarbonate of soda into a large mixing bowl. Pour in the mixture from the pan and stir. You need to make it into a stiff dough which you can press together with your hands (be careful as the mixture will be hot). You might need to add extra flour if it is too soft.
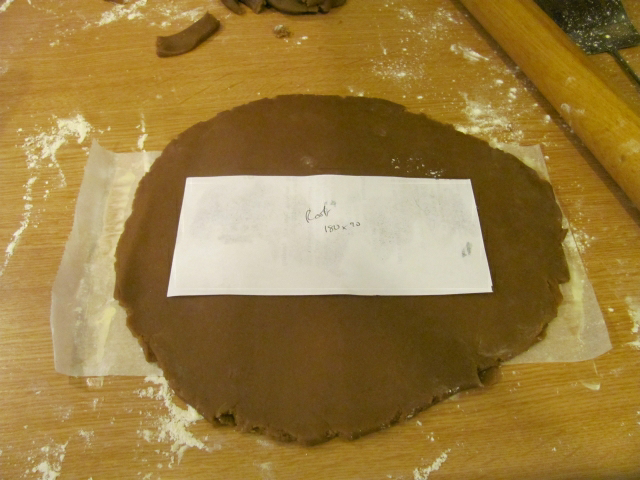
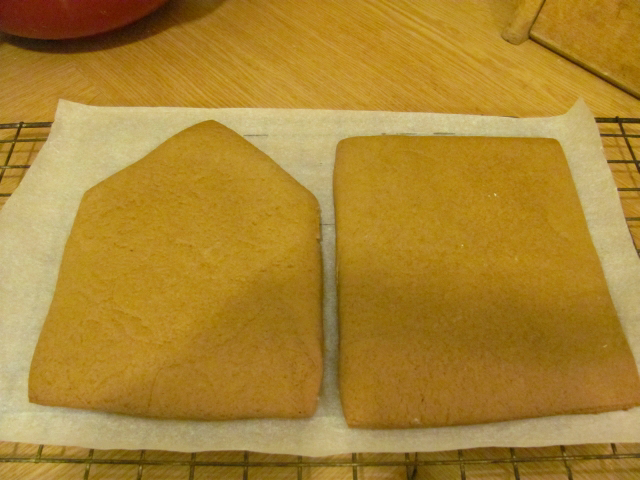
- Cut some rectangles of greaseproof baking paper to about A4 size (30cm x 21cm or 12” x 8”). Place on piece of paper flat on your work surface, using a little margarine to stick it down if necessary. Dust the paper and surrounding area with flour and roll out some of the dough over the paper to about 6mm (0.25”) thick. Now, take the paper template and place one of the cut-
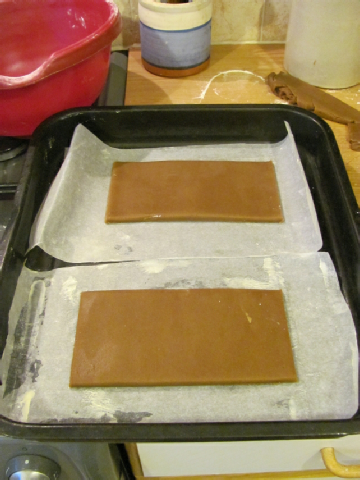
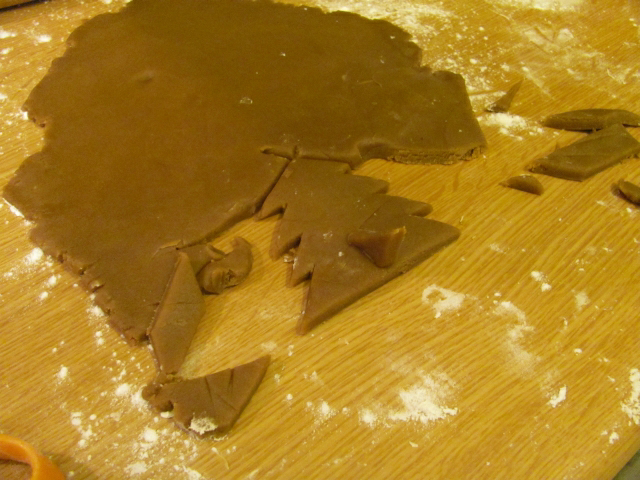
out pieces over the dough . Using a knife, cut around the template, taking care not to cut the paper beneath. Remove the excess dough and you should be left with a piece of the house in the centre of the baking paper. Repeat these for all six pieces of the house (remember you need two of each). Lift each piece by the corners of the paper and place them on baking trays, being careful that they don’t lose their shape. They will expand in the oven so don’t place them too close to each other. - Leftover dough can be used for trees, snowpeople or anything else you like. The more items you make for outside the house, the more you get to eat before you start having to destroy the house itself!
- TIP: If you want them to stand upright, stick a small triangle of dough onto the front of them to act as a stand.
- Place the trays in the oven and bake for 8 minutes. Take them out and, using the side of a knife, straighten up the edges and corners which will have become rounded as the pieces expand. Place them back in the oven, turning the tray around, and bake for another 8 minutes or so.
- TIP: Unless you have a huge oven, you will need to bake the pieces in batches.
- Remove from the oven and cool on wire racks. Once cool, they should be firm enough that they don’t bend when you lift them -
if they feel soft, bake them again for a few more minutes and allow to cool again. - TIP: You need your house pieces to be as flat and straight as possible. If you use an old wire cooling rack that is bent in the middle your pieces will cool in a bent shape which will make it very hard to build your house!
Assembly
 Once you have all your pieces ready, the fun can begin! Make some icing by sieving icing sugar into a bowl and sprinkling with a little cold water. Stir well and add more water until you can a paste that is thick enough to stick dough together but thin enough to work with. Use an icing syringe (preferably) or icing bag to apply it.
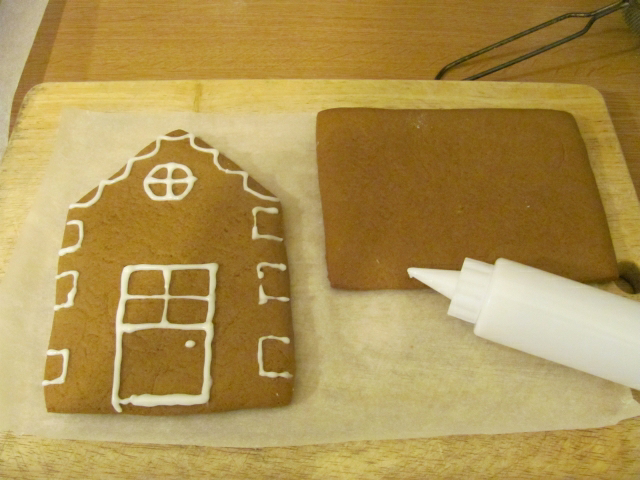
- It’s easier to decorate the walls (and maybe the roof) of the gingerbread house before your assemble it. Draw doors, windows, bricks, icicles or whatever you fancy.
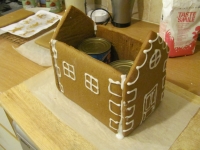
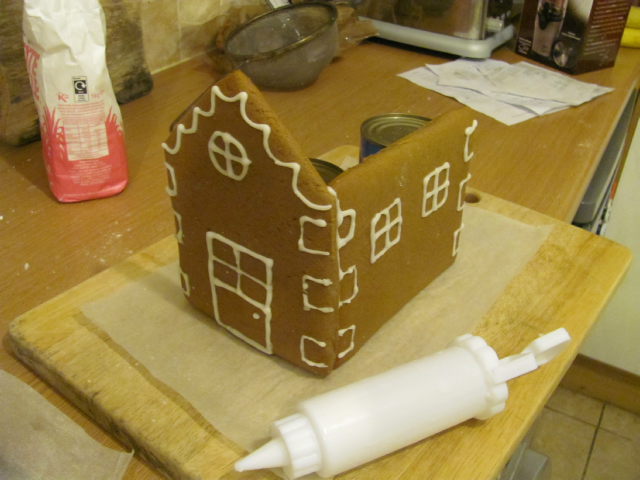
- Assembling the house is the difficult part. You need to assemble it on a flat serving tray of some kind (a wooden chopping board works well). Start with one end wall and one side wall. Draw a thick line of icing along the end of the side wall. Stand the two pieces up on the tray and stick them together, pushing the side wall gently onto the back of the end wall, being careful not to smudge your icing. Add the second side wall in a similar manner and add the other end wall. Leave alone for a while for the icing to dry.
- TIP: You can place cans of food inside the house to prop the walls upright while the icing dries.
- TIP: Before you add the roof, you can fill the house with sweets or small gifts.
- Next, you can stick the two roof pieces on top. Squirt copious amounts of icing around the top of the walls and place them on top, using more icing along the ridge to stick them together. They will tend to slip downwards, so prop them up with cans or bottles until the icing dries.
- Once the house is assembled, you can complete the decoration. Touch up any smudges in your icing and fill any holes in the structure with more icing. You can draw tiles on the roof or stick on flaked almonds to look like roof tiles. Stick on sweets for decoration -
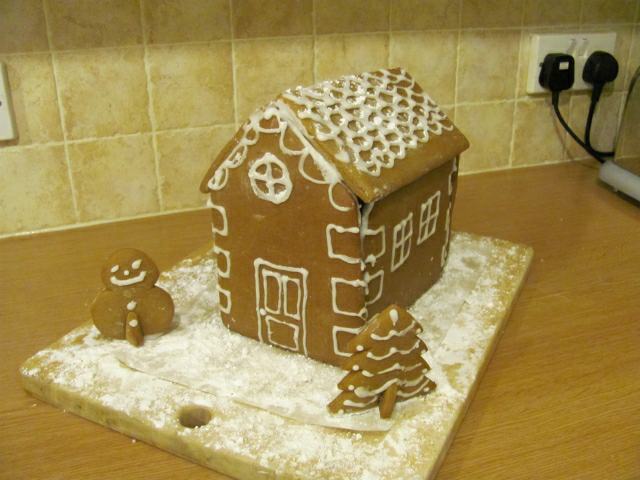
you could add a line of boiled sweets along the ridge of the roof and use a piece of liquorice for a chimney. Stick your gingerbread trees/snowpeople to the tray outside the house. - Finally, dust everything with a layer on icing sugar to give a snow effect (this also helps to hide any wonkiness in your icing work!).
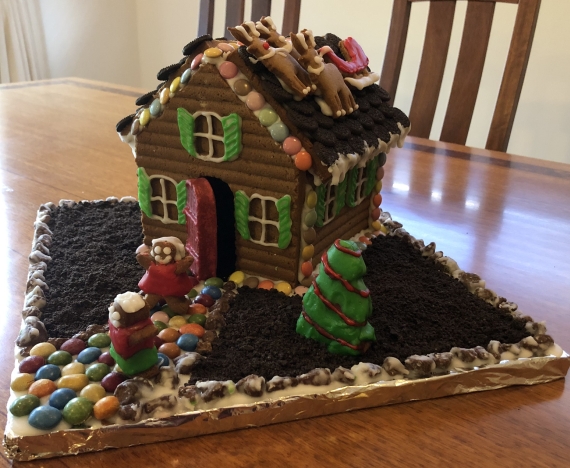
- The finished article should look something like this, only better because hopefully your icing skills are better than mine! The vastly better house at the top of the page was sent in by reader Dr Kirsten Jackson.
- Now comes the real test of character: how long you can look at the house before you start eating it.